

You can currently only configure one webhook per organization.
Setup
Under Configuration in the left panel, go to the Webhooks tab, enter the URL for your webhook endpoint (and optionally provide a custom PEM-encoded TLS CA certificate if your endpoint uses an internal CA), and select Save Changes.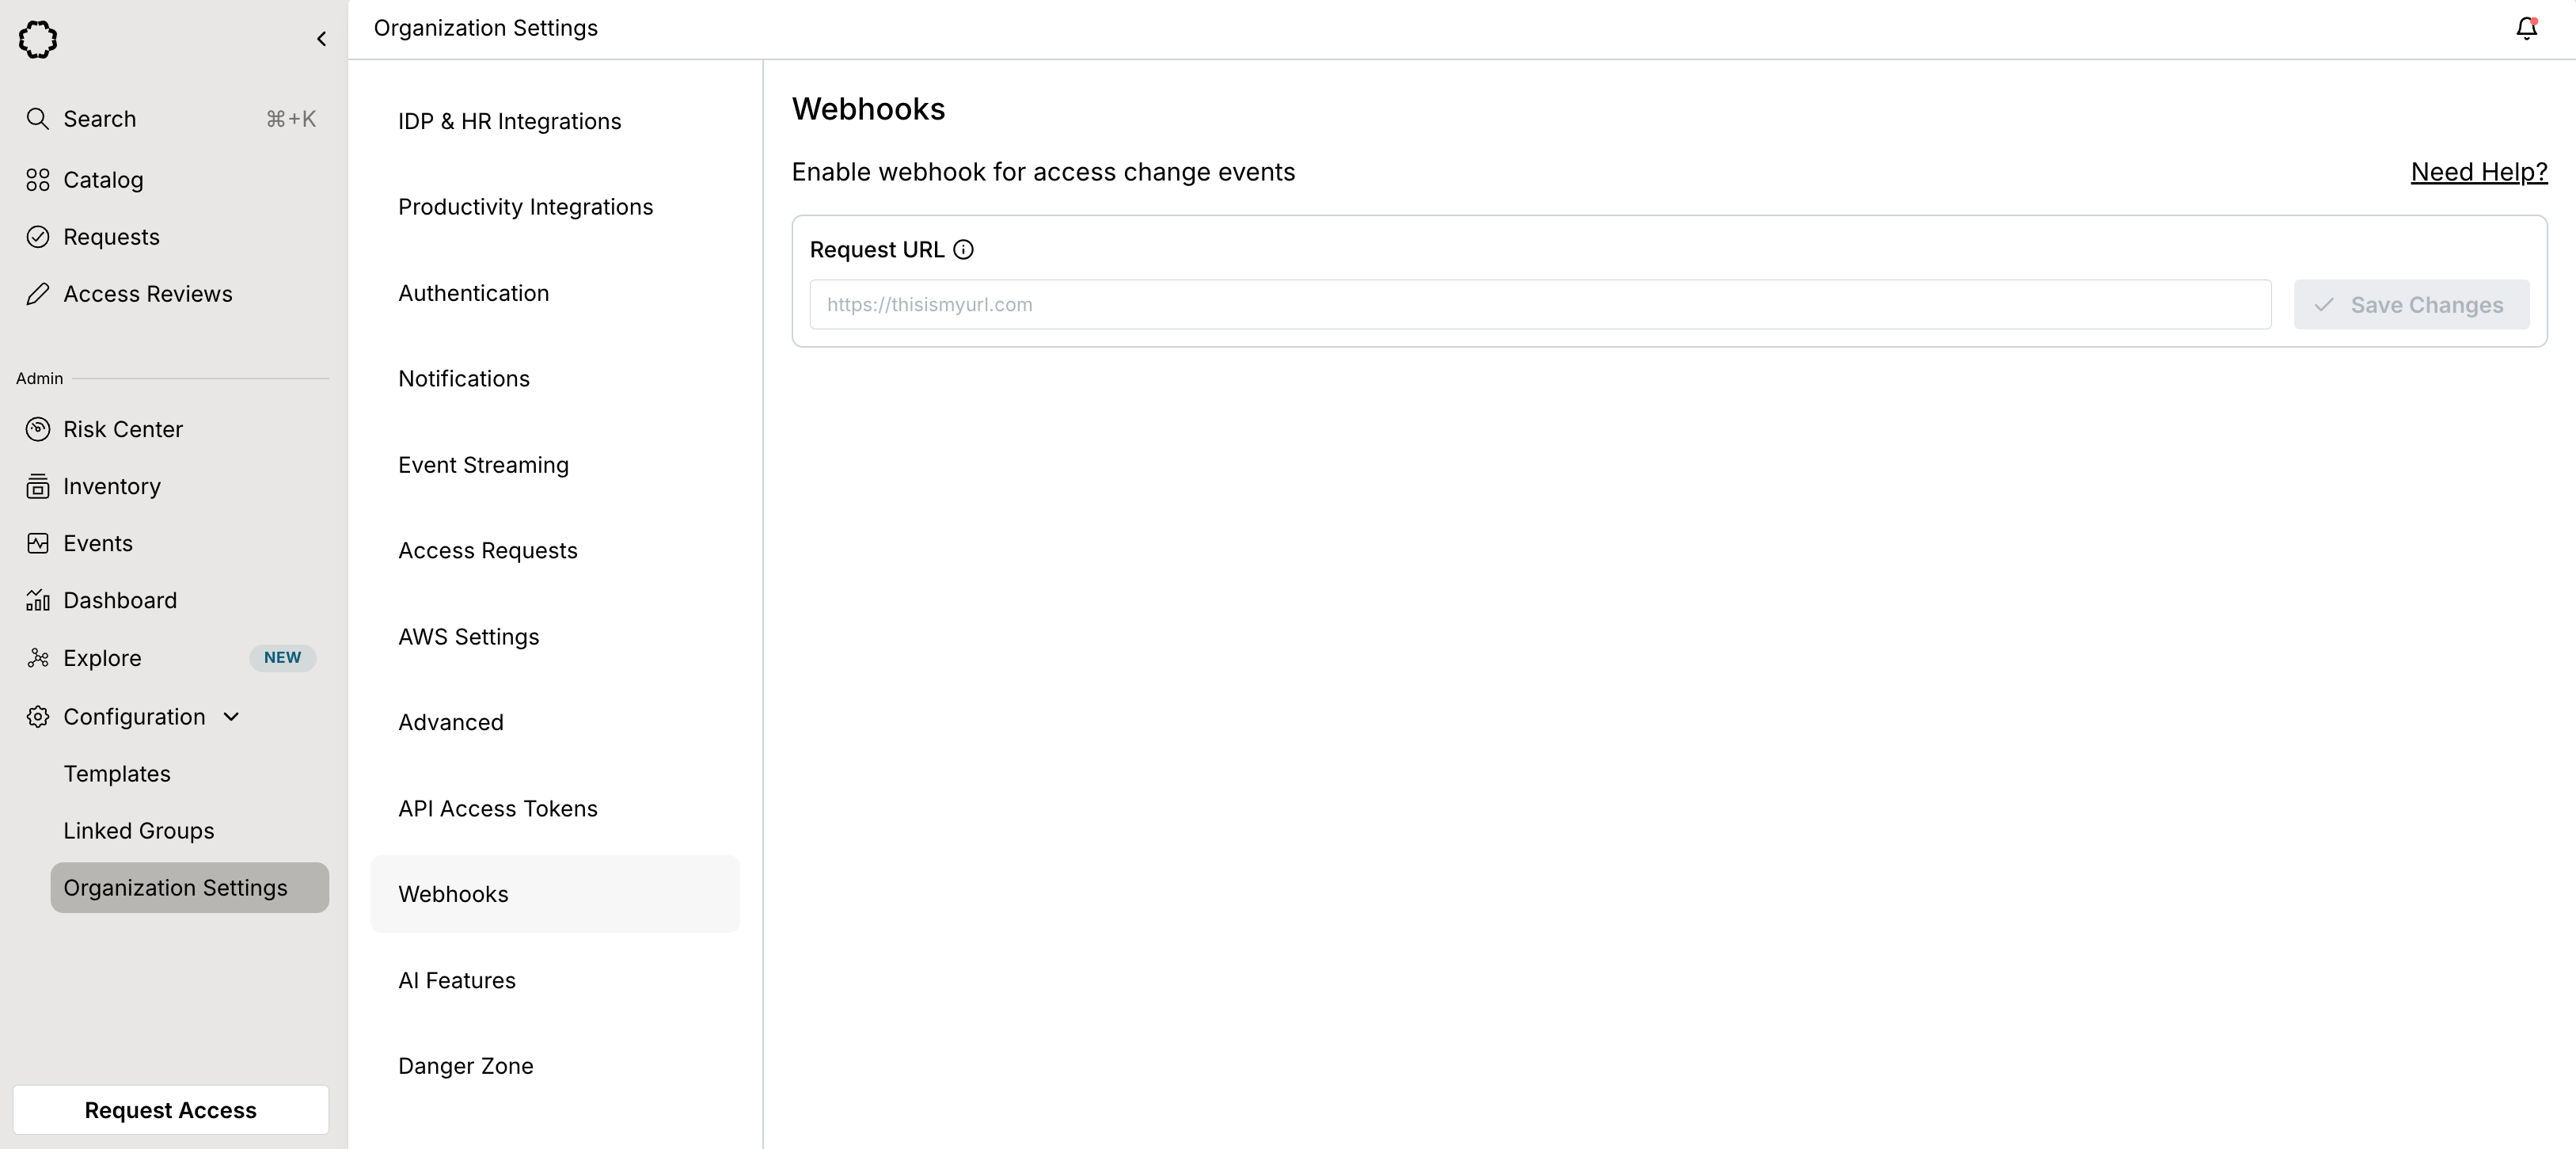
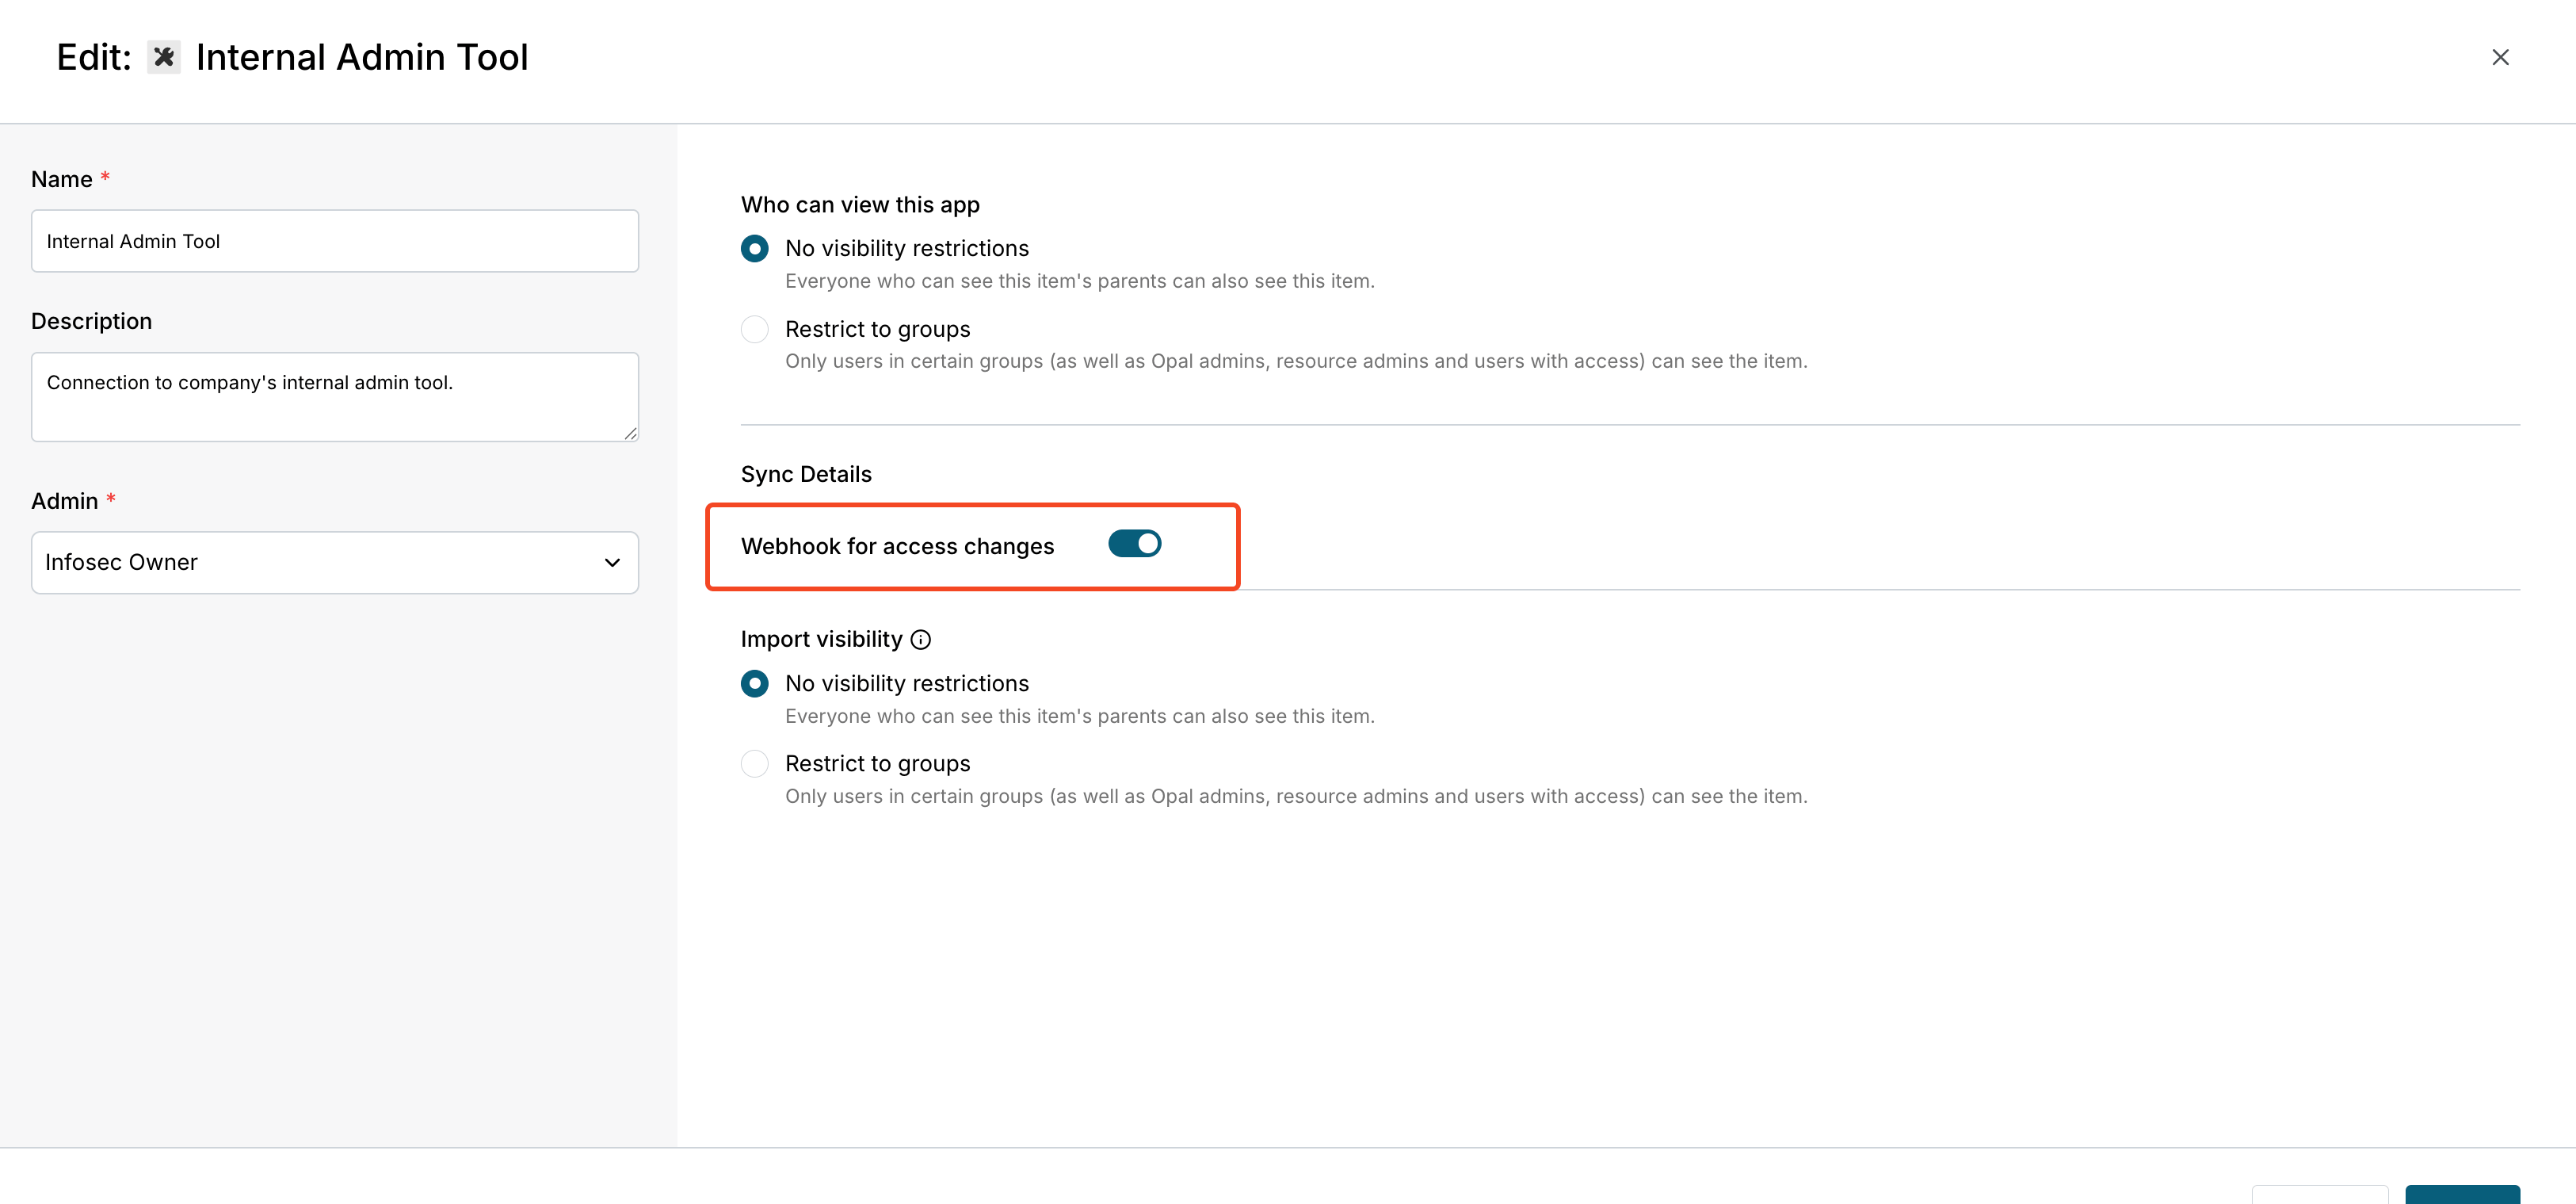
200, 201, or 202 response within 10 seconds of receiving the payload.
Payload samples
Opal sends different payloads depending on the event type. The following event types are supported.Add users to resource
Remove users from resource
Add users to group
Remove users from group
Add resources to group
Remove resources from group
Add groups to group
Remove groups from group
Verify requests from Opal
Verify requests from Opal with confidence by checking signatures using your signing secret. Opal includes anX-Opal-Signature HTTP header on each HTTP request sent. The signature is created by combining the signing secret with the timestamp and the raw HTTP request body using a standard HMAC-SHA256 keyed hash.
Here is an example with Node to compute the signature using your signing secret and raw request body (request.rawBody). You can compare it against the value retrieved from the X-Opal-Signature header.